Hi there! Welcome to another Silhouette Sunday. This post is from the former Paper Kisses and Inky Wishes blog. The Silhouette Store gives away a free file each week and a few weeks ago it was a nice cut file for making 3-D roses. The Silhouette Plus Forum (a site for Cameo and SD digital cutter owners to chat and problem-solve) holds a weekly challenge encouraging the members to make something with the free file. I made my roses but wasn't sure what I was going to do with them until today.
I cut several of the patterns and then worked the paper over good with the McGill flower tool set (they are double-ended tools with a metal ball on each end and come in several sizes) to soften the paper which makes the petals easier to shape. I also used a little spritz of water. Once the paper was good and soft I crumpled them all up in my hand and then ran an orange ink pad over the paper. The crumpled paper caught the ink at all the high points and gave the roses some nice depth. Once the ink had dried, starting in the center, I rolled the rose around a pair of long-nosed tweezers (you can also use a pencil) to give the rose a loose curled shape, making it easier to do the gluing. Gluing is the next step and all you do is put glue on a small section, begin rolling, add more glue, roll some more and continue in this manner until you have the paper rolled up and resembling a rose. Notice that the center of each flower is much tighter and then "blooms" as you shape the flower. Let dry and then bend and shape the petals to your liking. It's amazing how the same pattern used by different crafters makes each rose different and one of a kind. Please keep in mind that you can cut the rose pattern with scissors, too, you don't have to have a digital cutter. These are fun and rewarding to make and I like to work on these while watching TV in the evenings. Here's the roses before I made the actual card.....
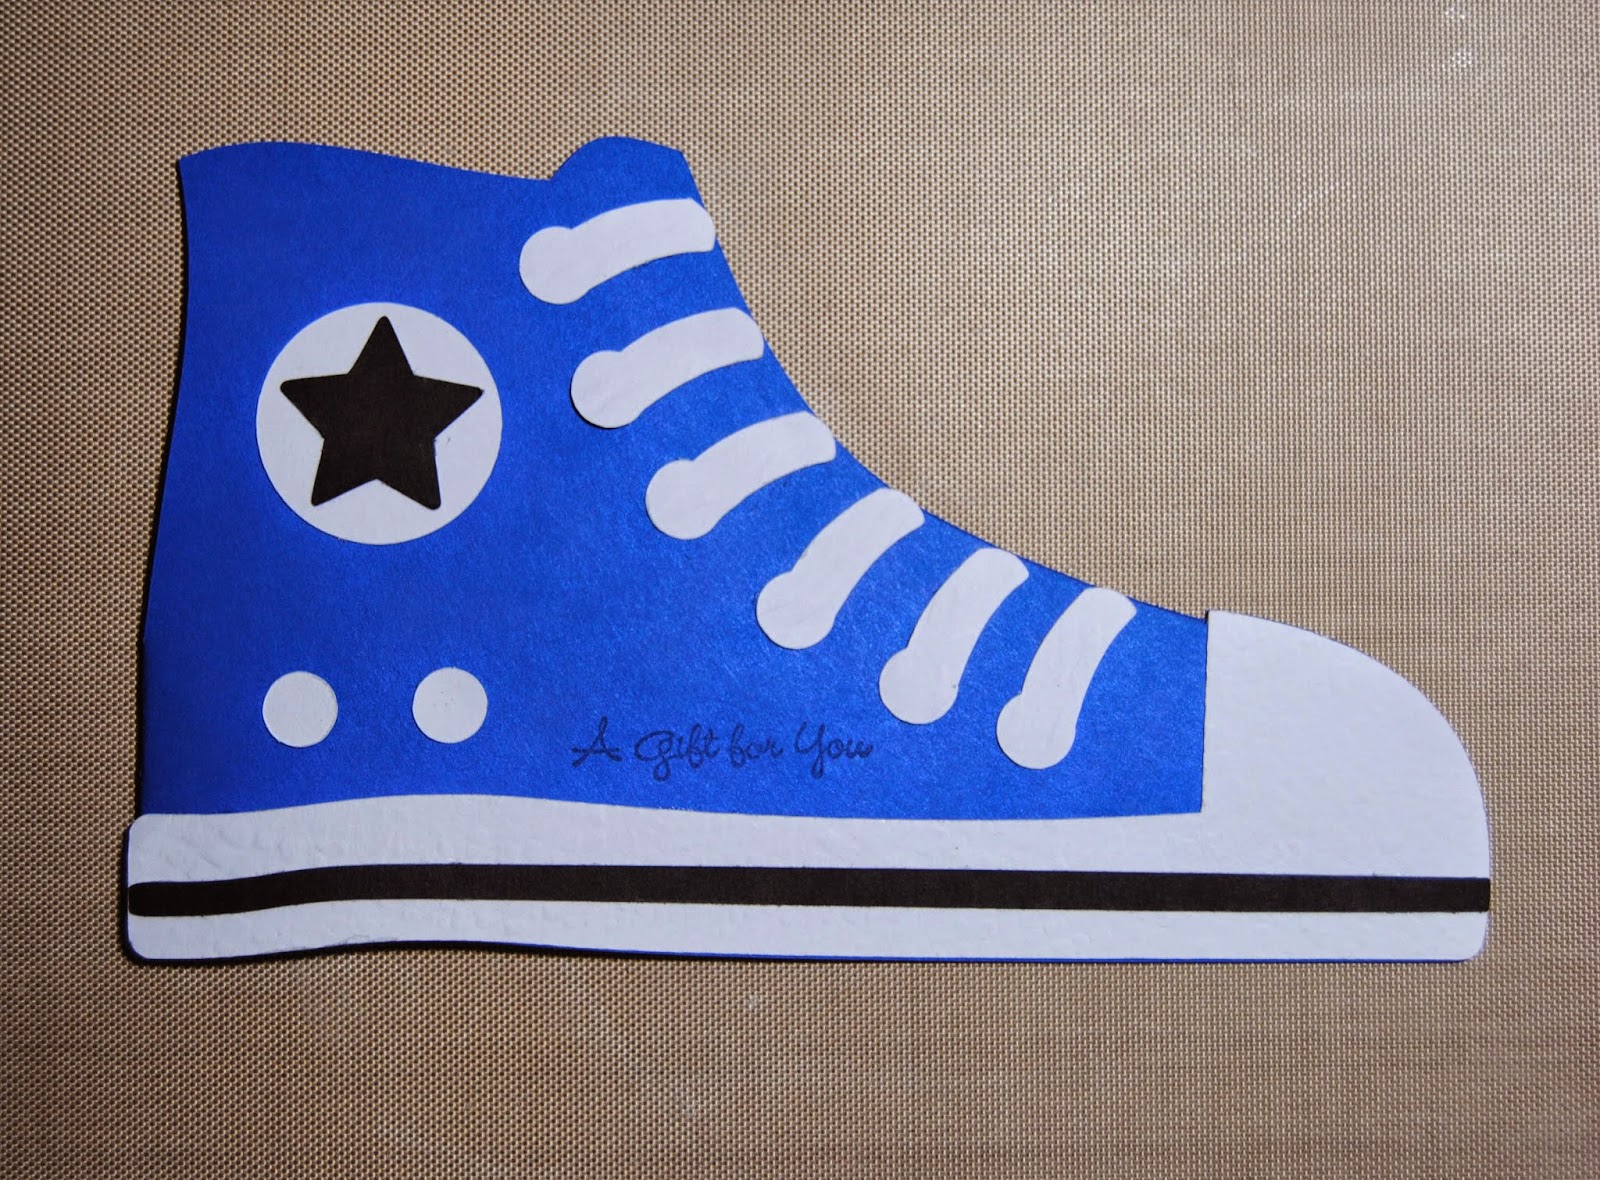
 I knew I wanted to have them clustered on one side and that I wanted to use the cut out shown in black, and it all finally came together in this card..................
 It's hard to read in this photo, but it says "Happy Birthday Dear Friend" and I used a sketch pen in my Cameo with the Black Rose font. It's also hard to see on the finished card, but I ran the black frame that is around the sentiment through my Wizard using the Swiss Dots embossing folder.
Thanks so much for stopping by today. Have a wonderful week. Hugs, Shawna
I cut several of the patterns and then worked the paper over good with the McGill flower tool set (they are double-ended tools with a metal ball on each end and come in several sizes) to soften the paper which makes the petals easier to shape. I also used a little spritz of water. Once the paper was good and soft I crumpled them all up in my hand and then ran an orange ink pad over the paper. The crumpled paper caught the ink at all the high points and gave the roses some nice depth. Once the ink had dried, starting in the center, I rolled the rose around a pair of long-nosed tweezers (you can also use a pencil) to give the rose a loose curled shape, making it easier to do the gluing. Gluing is the next step and all you do is put glue on a small section, begin rolling, add more glue, roll some more and continue in this manner until you have the paper rolled up and resembling a rose. Notice that the center of each flower is much tighter and then "blooms" as you shape the flower. Let dry and then bend and shape the petals to your liking. It's amazing how the same pattern used by different crafters makes each rose different and one of a kind. Please keep in mind that you can cut the rose pattern with scissors, too, you don't have to have a digital cutter. These are fun and rewarding to make and I like to work on these while watching TV in the evenings. Here's the roses before I made the actual card.....


Thanks so much for stopping by today. Have a wonderful week. Hugs, Shawna